


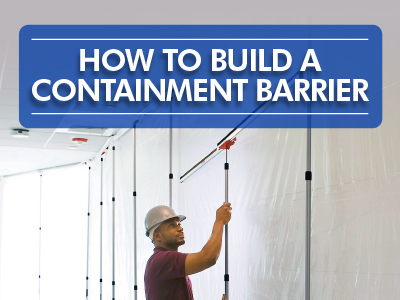
Regardless of the type of work that you do — construction, remodeling, remediation, restoration, abatement, or demolition — harmful airborne contaminants can pose potentially severe health risks. To stay compliant with regulatory and government bodies like the EPA, CDC, and OSHA, and to keep customers satisfied, contractors and facility managers need an effective containment barrier system.
The ZipWall® Dust Barrier System enables contractors to quickly and easily erect temporary walls, isolation chambers, containment booths, or anterooms for separating an affected area or worksite from an occupied part of a building. In addition to keeping dust and air pollutants contained, the barriers significantly reduce costly cleanup time.
Let's run through the steps to creating an effective ZipWall® containment area.
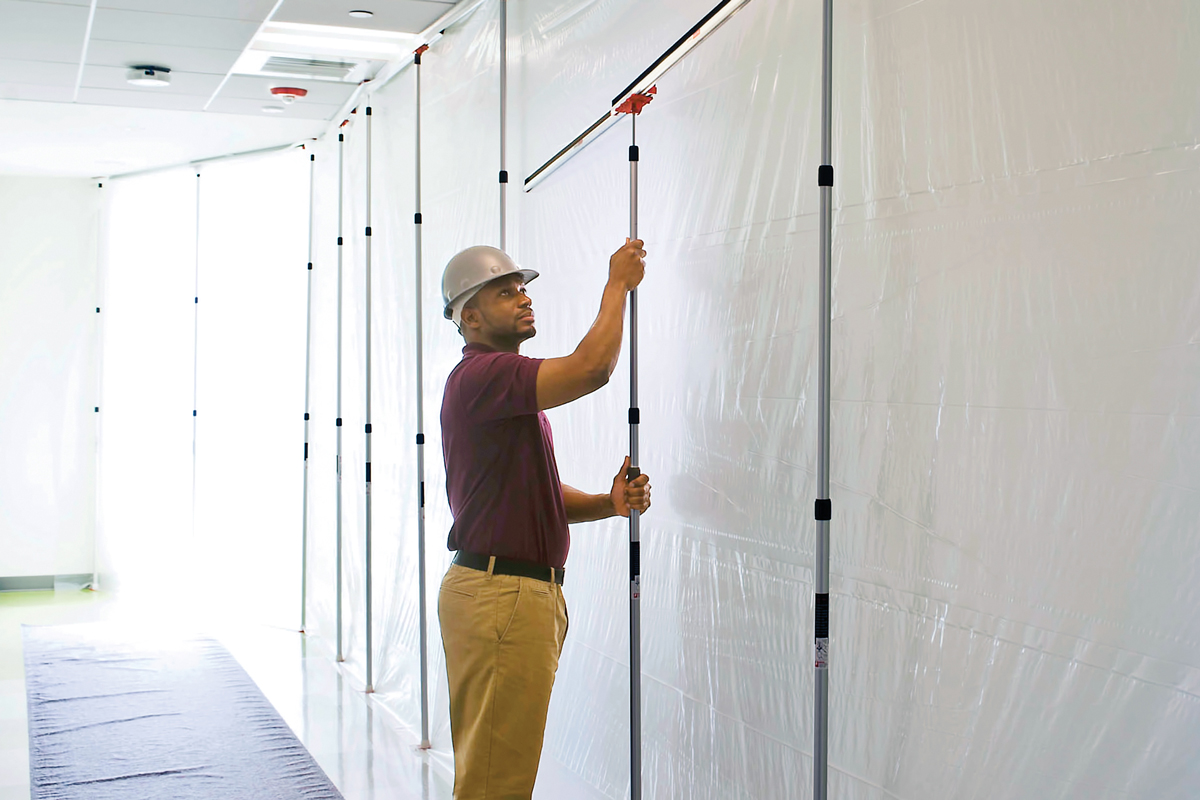
Step 1: Secure the Barrier
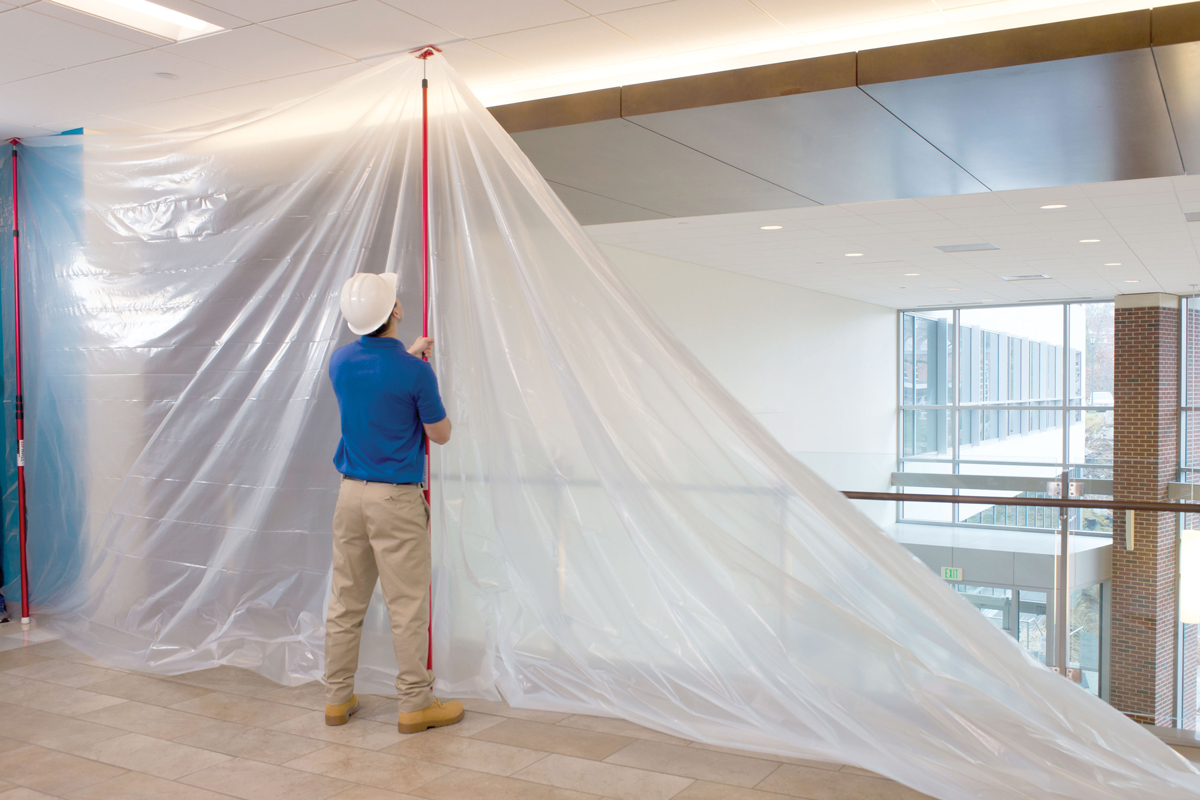
First, select the number of ZipWall® poles you’ll need for your barrier. This will depend on the square footage of the area: the larger it is, the more poles you'll need.
Poles should be spaced roughly eight feet apart, but depending on outside factors, such as negative or positive air pressure, heavy plastic, or high ceilings, you may need to move them closer together for better stability.
ZipWall® poles come in three different sizes, with ten-, twelve- and twenty-foot maximum extensions. The twelve- and twenty-foot poles are recommended for restoration and remediation applications. These strong and lightweight poles telescope up to the ceiling and can be set up in just a few minutes by one person — without ladders, tape, or damaging surfaces. They are also quick and easy to reposition as needed.
Plastic sheeting is the most widely used barrier material and it comes in a variety of options to suit different applications. Among the factors to consider are:
- Thickness
- Length
- Height
- Flame retardancy
When cutting the plastic sheeting for your barrier, it is important to leave extra material on all four sides — at least three to four inches on the top and bottom, and a minimum of eight to ten inches on each side are recommended. That way, you have plenty of extra material to seal off the perimeter.
For a sustainable alternative to plastic sheeting, many contractors use ZipSheet™ Barriers. These machine-washable and reusable sheets quickly zip together to create any size barrier. With no measuring or cutting required, the durable nylon fabric sheets are ready to use.
Step 2: Seal the Barrier
Once your barrier is set up, the focus shifts to sealing the top, bottom, and sides. Tapeless seals are a fast and easy solution for most scenarios and they will not damage painted or finished surfaces.
To seal the ceiling, Adjustable FoamRail Span™ and FoamRail™ 2-Packare ideal solutions. The Span™, which can seal up to eight feet with one pole, is especially well-suited for restoration and remediation applications as its concave shape creates a tight seal on the top and bottom of the barrier. It also extends from four feet three inches up to eight feet to fit any job.
Please keep in mind, to use the FoamRail™ seals on the floor, a floor adapter is required, which is sold separately and comes in three different sizes depending on the pole you’re using.
To seal along the walls, simply attach FoamRail™ 2-Pack to the pole using the SideClamp™ Wall Mounts and create a tapeless and damage-free seal along the side of the barrier. Magnetic strips are another great way to hold the barrier between poles when working with drop ceilings. Some jobs may require taping the perimeter, so be sure to check pertinent regulations.
Step 3: Create Entryways and Exits
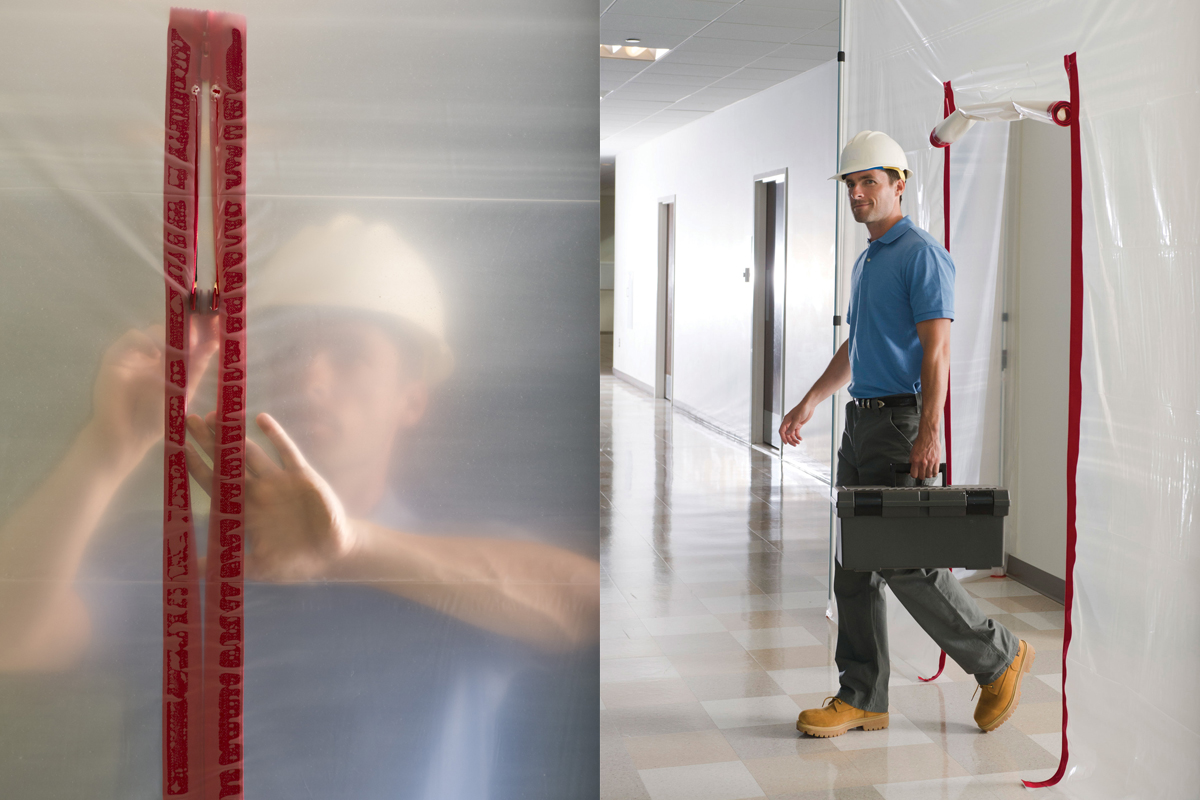
Now that the barrier is in place and the perimeter is sealed, the next step is to enable access in and out of the work area. This is an important step to get right.
A popular way to create an entry in a plastic barrier is by using the ZipWall® Heavy-Duty Zipper, which comes with a special cutting tool to prevent jamming. The entryway can be made as wide as needed to move equipment and supplies in and out of the job site.
As an alternative, the ZipWall® Magnetic Door offers a self-closing, reusable, and flame-retardant entryway that’s easy to install and works with negative air pressure. Even with heavy foot traffic, the self-closing mechanism ensures the barrier always remains intact.
Step 4: Create Negative Air Pressure
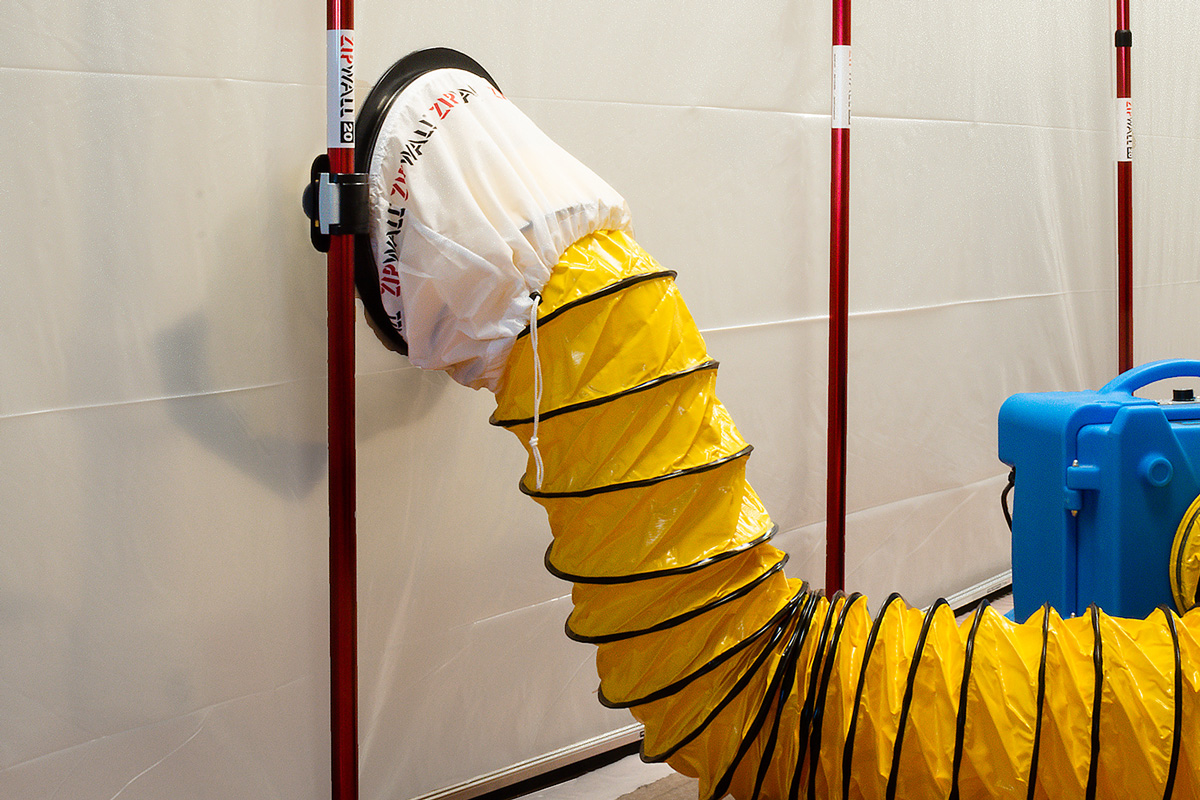
Some jobs may require the use of negative air pressure. ZipWall® poles are specially constructed to withstand negative air pressure without moving out of place.
For increased stability, it’s advised to place poles closer together. It’s also especially important to use the provided floor grips to enhance grip along the bottom of the barrier. Floor grips are included with every pole pack and can also be purchased separately as needed.
In addition, you may need to seal off return vents, electrical sockets, and other areas where air could enter or escape your work area. When setting up your air mover or scrubber, the ZipWall® PassThrough™ makes it easy to pass the duct hose through your barrier. A nylon fabric sleeve closes around the hose with a quick cinch. After removing the hose, you can cinch the sleeve closed to completely seal the opening.
While there may be other necessary containment steps depending on the requirements and regulations of the job, isolating the affected area from the occupied area with a barrier is critical. With that complete you can devote your attention to the job at hand.
FREE Training Opportunity: Building ZipWall®Containment Barriers
Want to see just how easy and fast it is to build a containment zone with the ZipWall® System? Sign up to join our next FREE webinar. This one-hour session is led by ZipWall® experts, plus it qualifies for one IICRC Continuing Education Credit!
If you need additional support, Jon-Don can assist you with your containment barrier needs. Click here to shop all ZipWall® containment products or contact your local Jon-Don branch today.
About the Author:
Dan Smith is the Training and Technical Service Specialist with ZipWall®. He has been with the company since 2015. He specializes in technical applications for ZipWall® and teaches a one-hour IICRC continuing education class on building containment with the ZipWall®system.


Comments